
The Green Machine Diaries: Almost Ready For "Prime" Time
/July 29 - August 1, 2022
“All hard work brings a profit, but mere talk leads only to poverty.”
Last time on the Green Machine Diaries
Last time on the Green Machine Diaries (“Heavy Metal”), I shared the joy of pulling wires, patching panels, and getting the roof in epoxy primer. That was July 2022.


Next up . . . fixing that front end
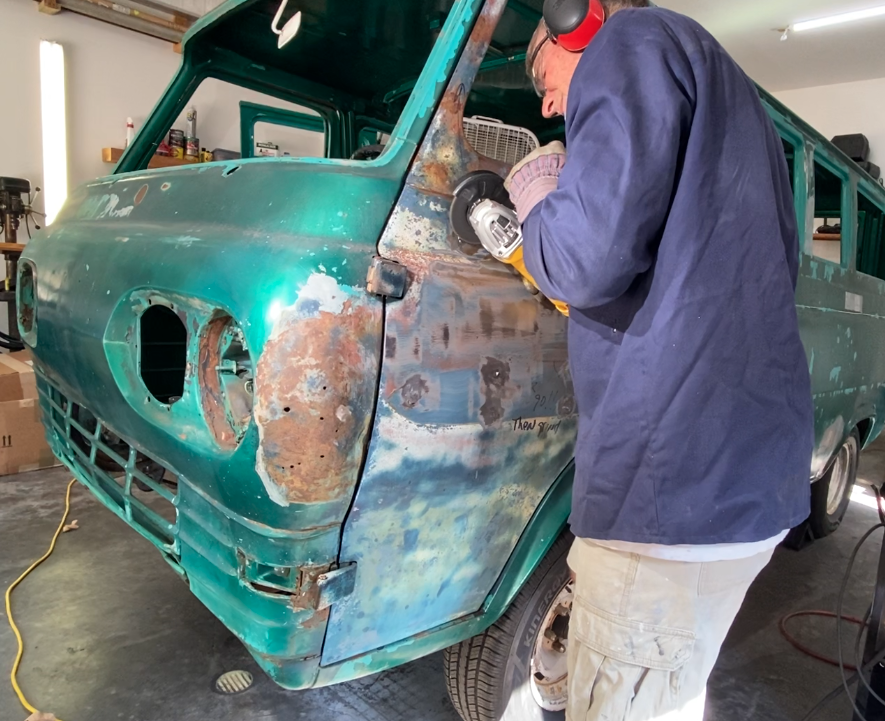
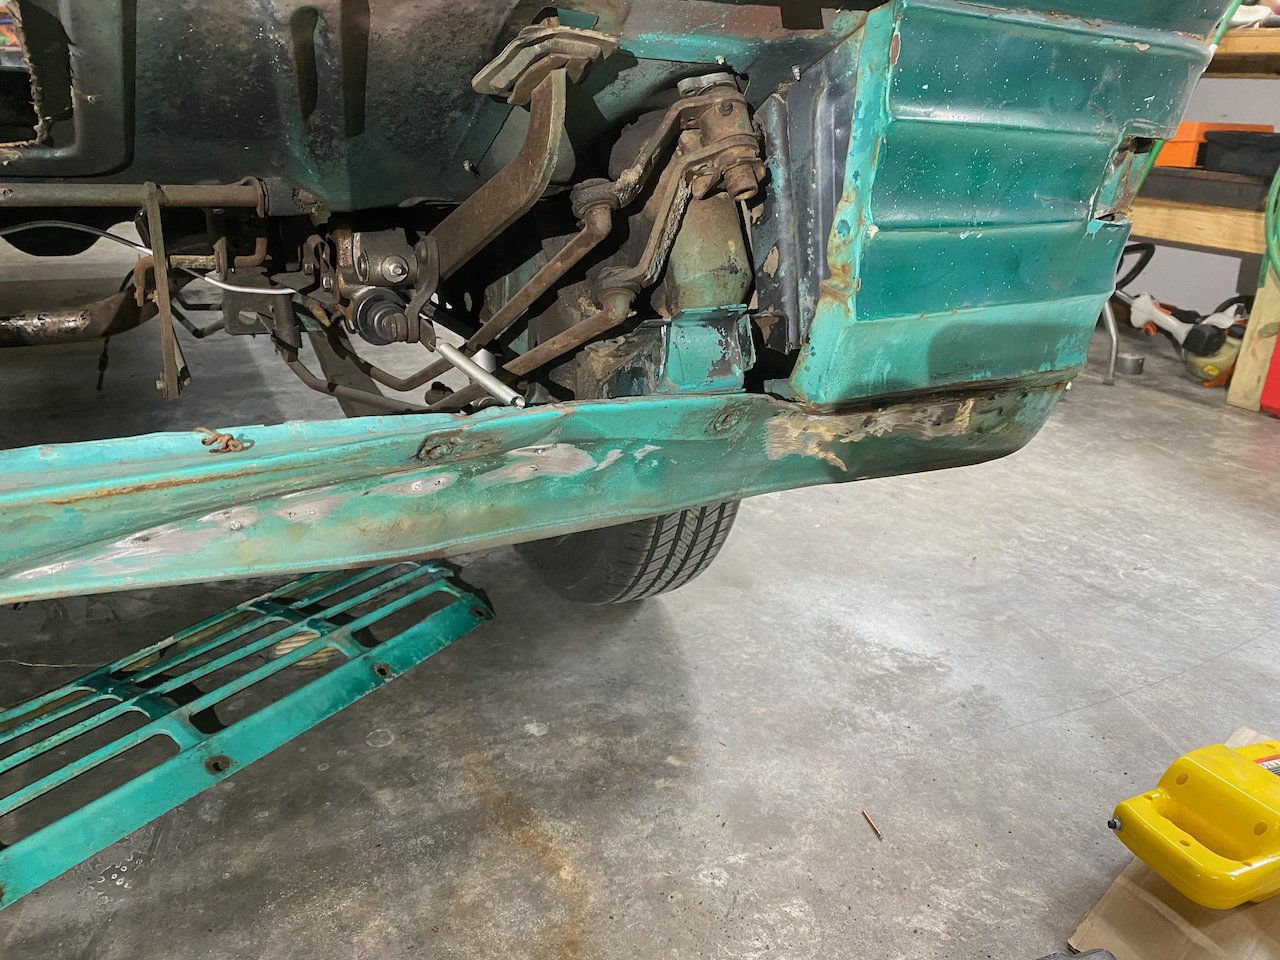
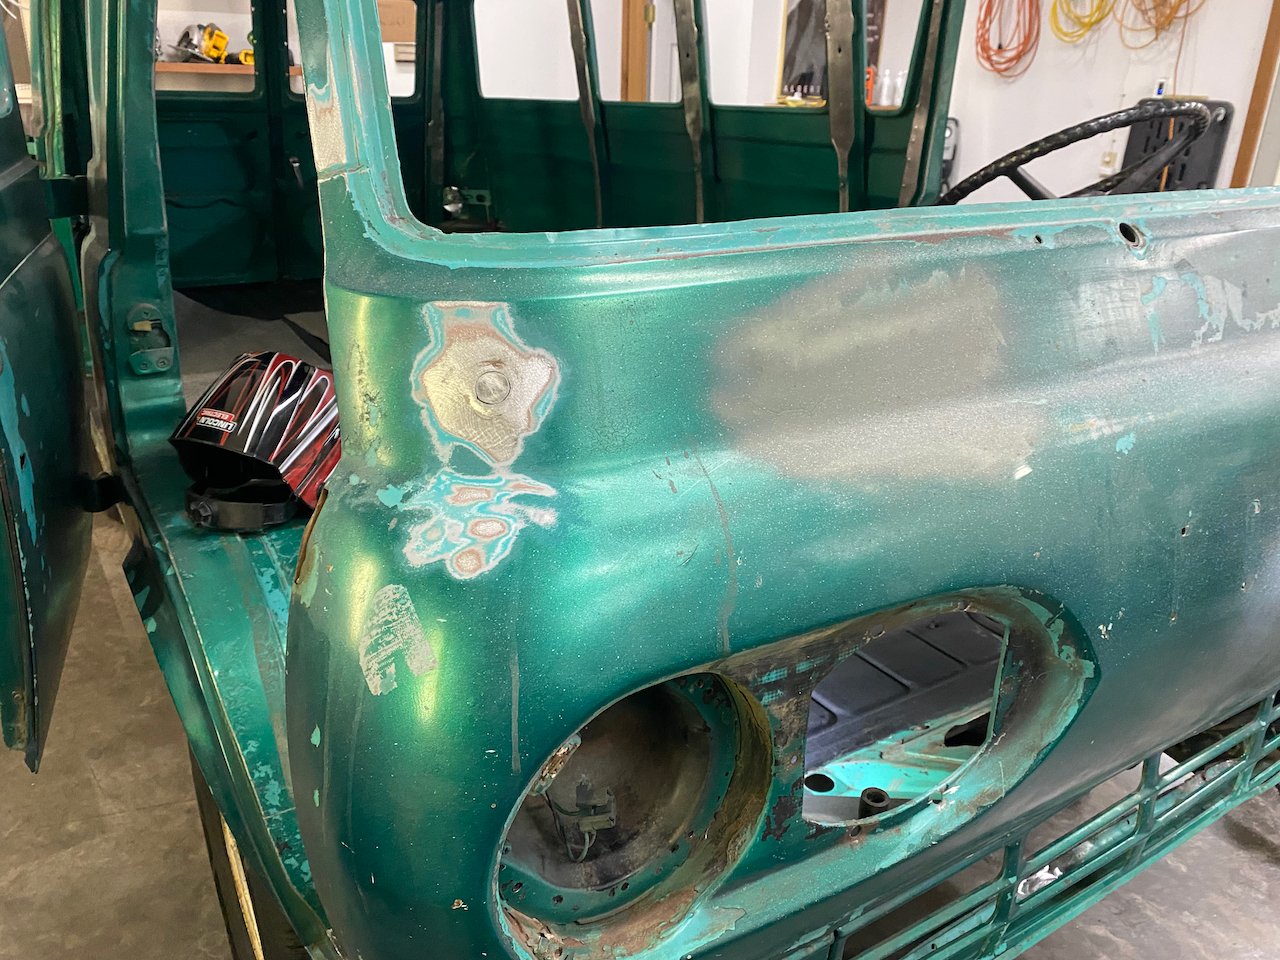
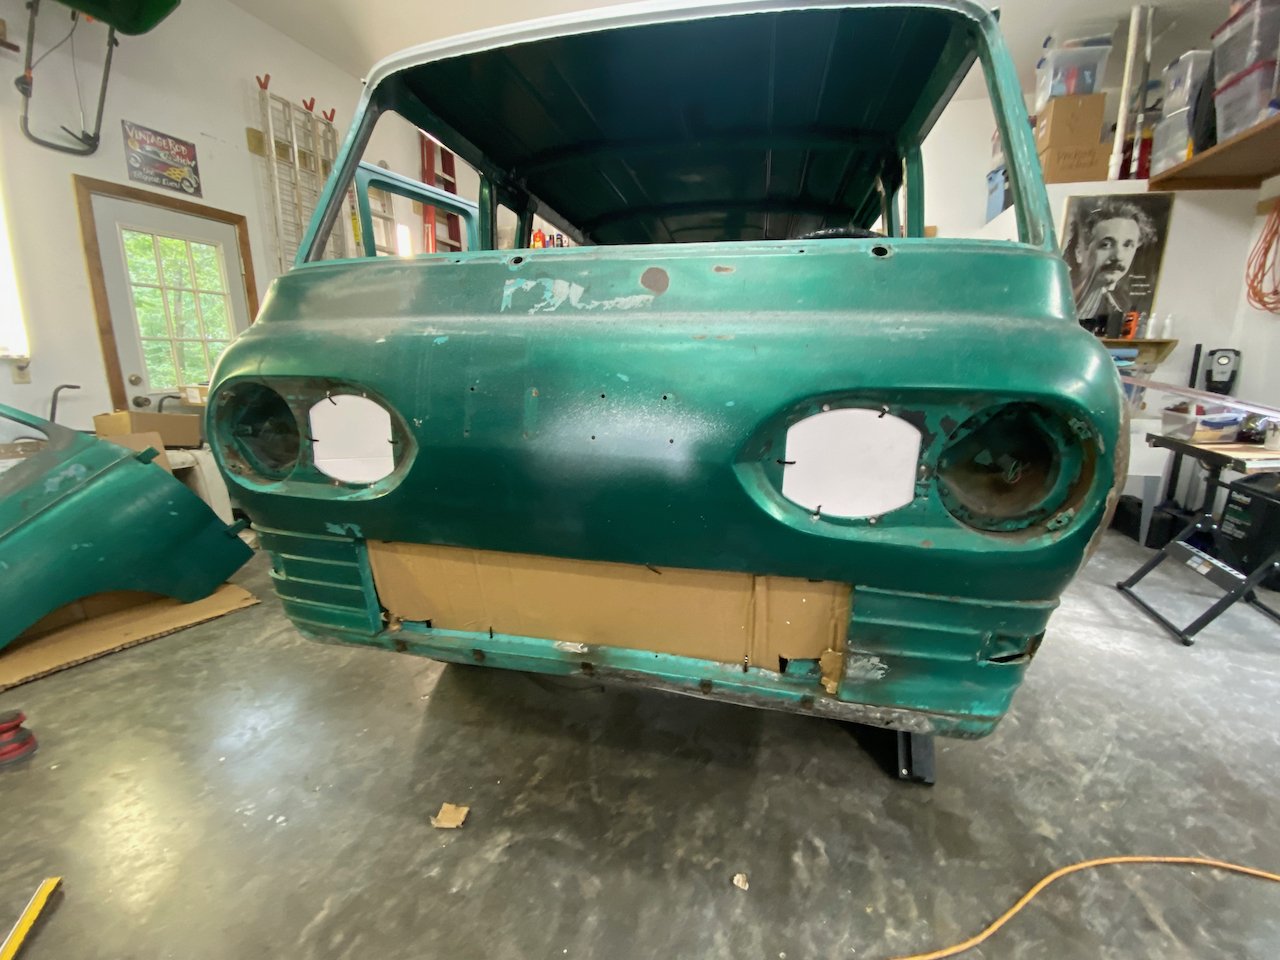
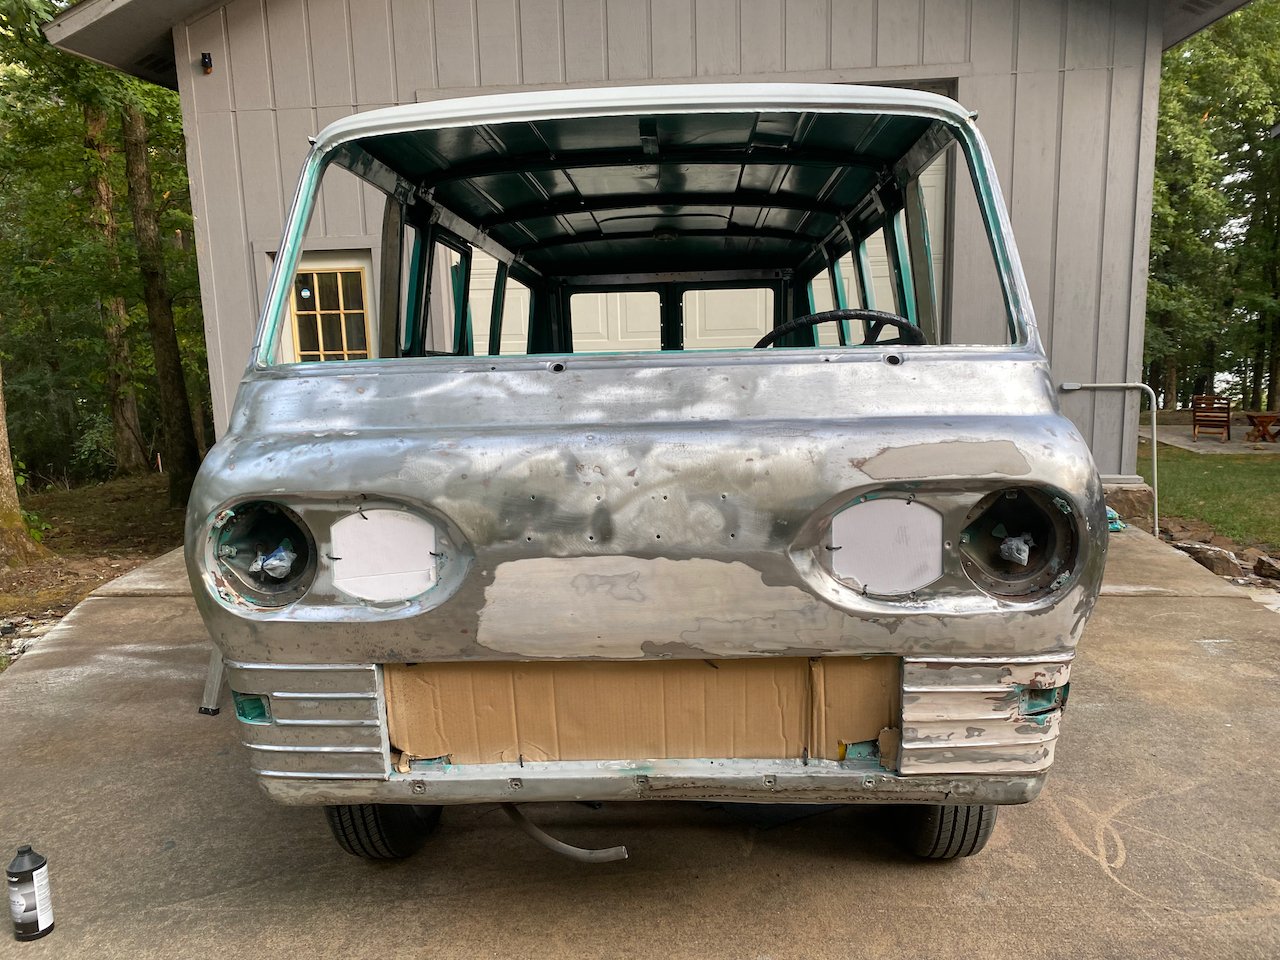
Now our days at the lake were coming to a close. When not working (LBC), I was working on pulling dents, patching panels, and getting the Green Machine into primer. The reason? Both the front and the rear of the Econo had been hit; the big bumper and 56 years of ‘ugly’ covering up just how bad it was. Ditto for the back end.


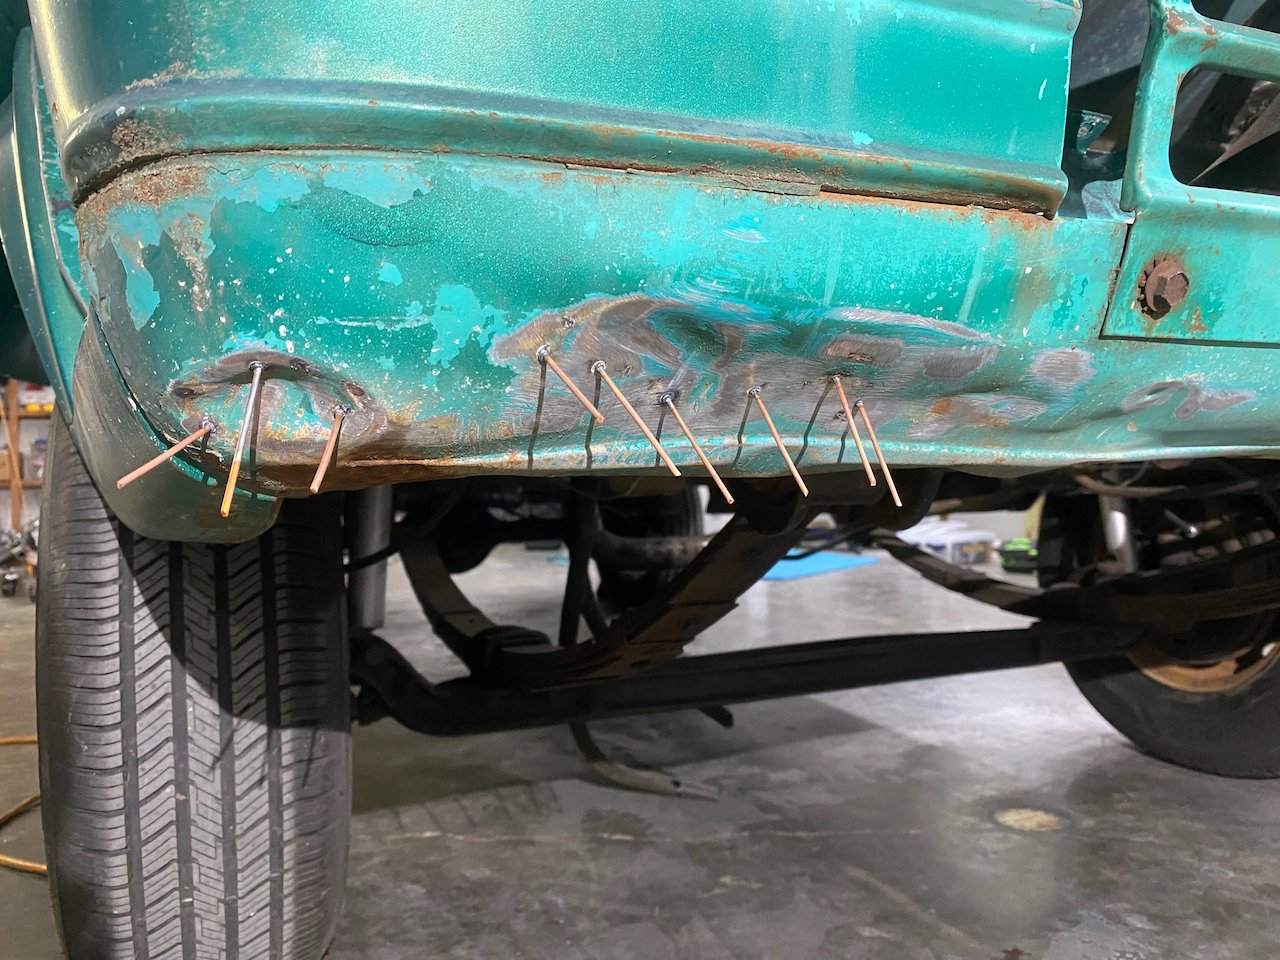
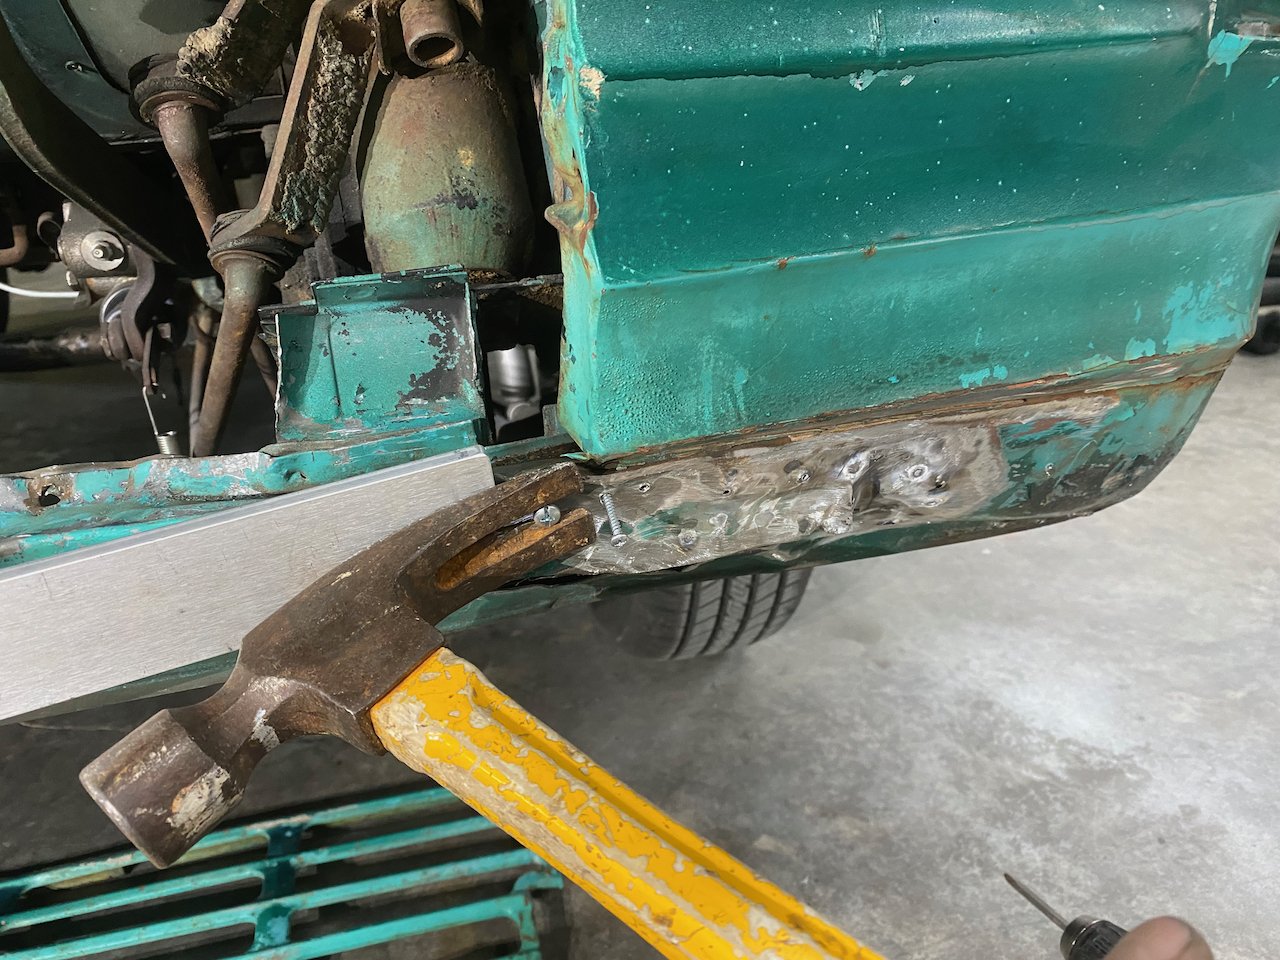
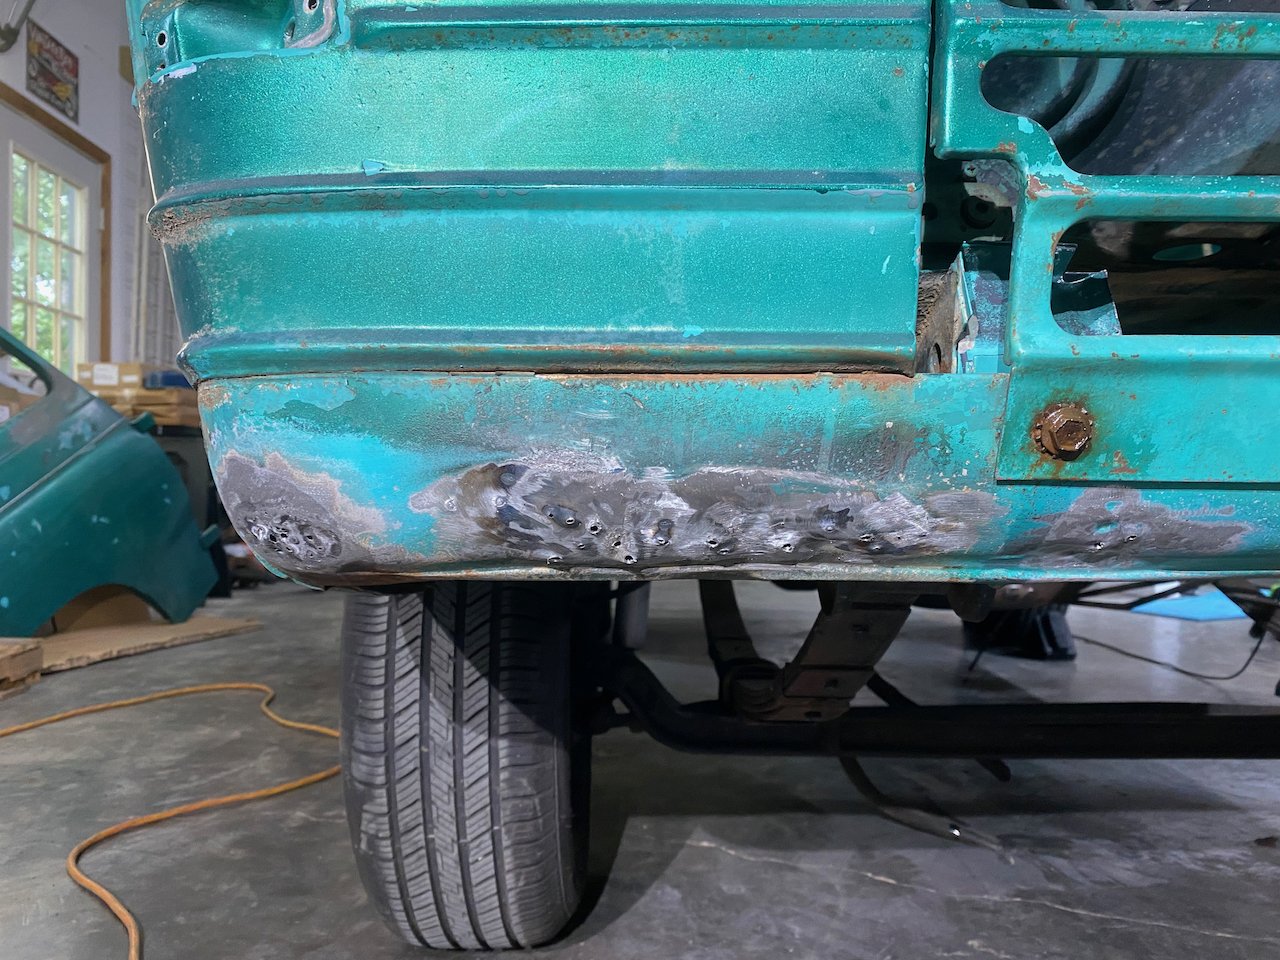
Once the bumper was off, the extent of the damage was obvious.

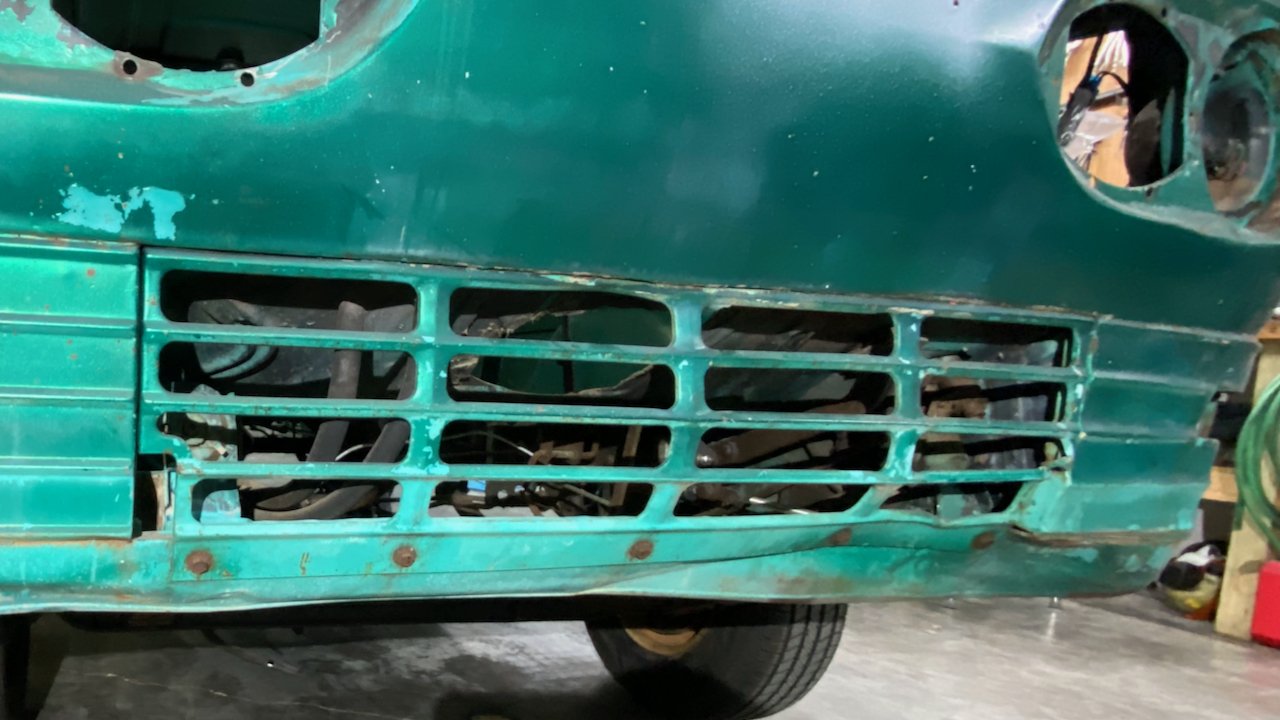
I enjoy this work, but it was not going to be easy or quick. There were dents to pull, a double-walled front valance that was crushed like an aluminum can, and a temperamental grill that was mangled and ugly.
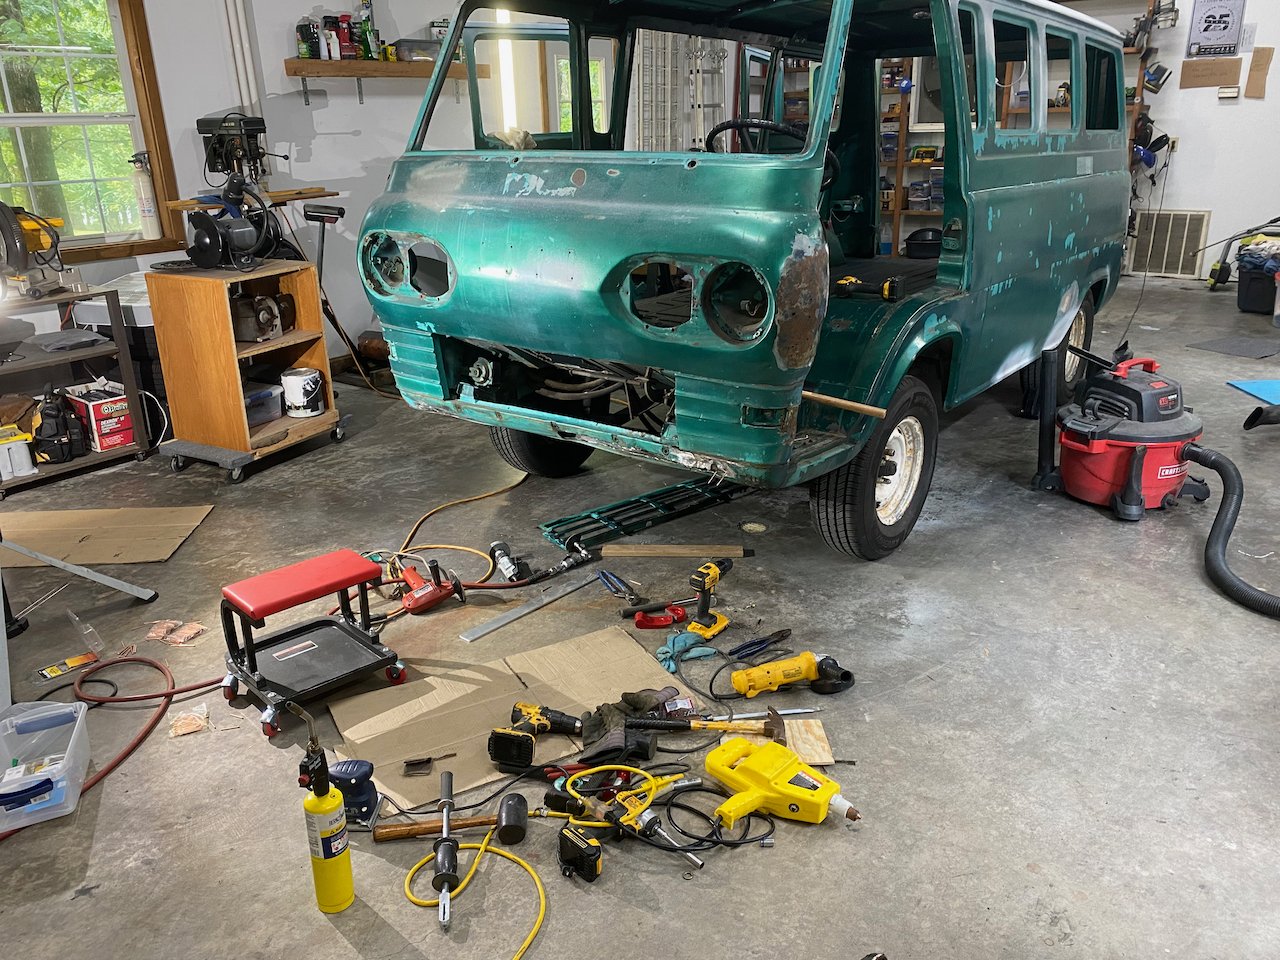
Break out the tools
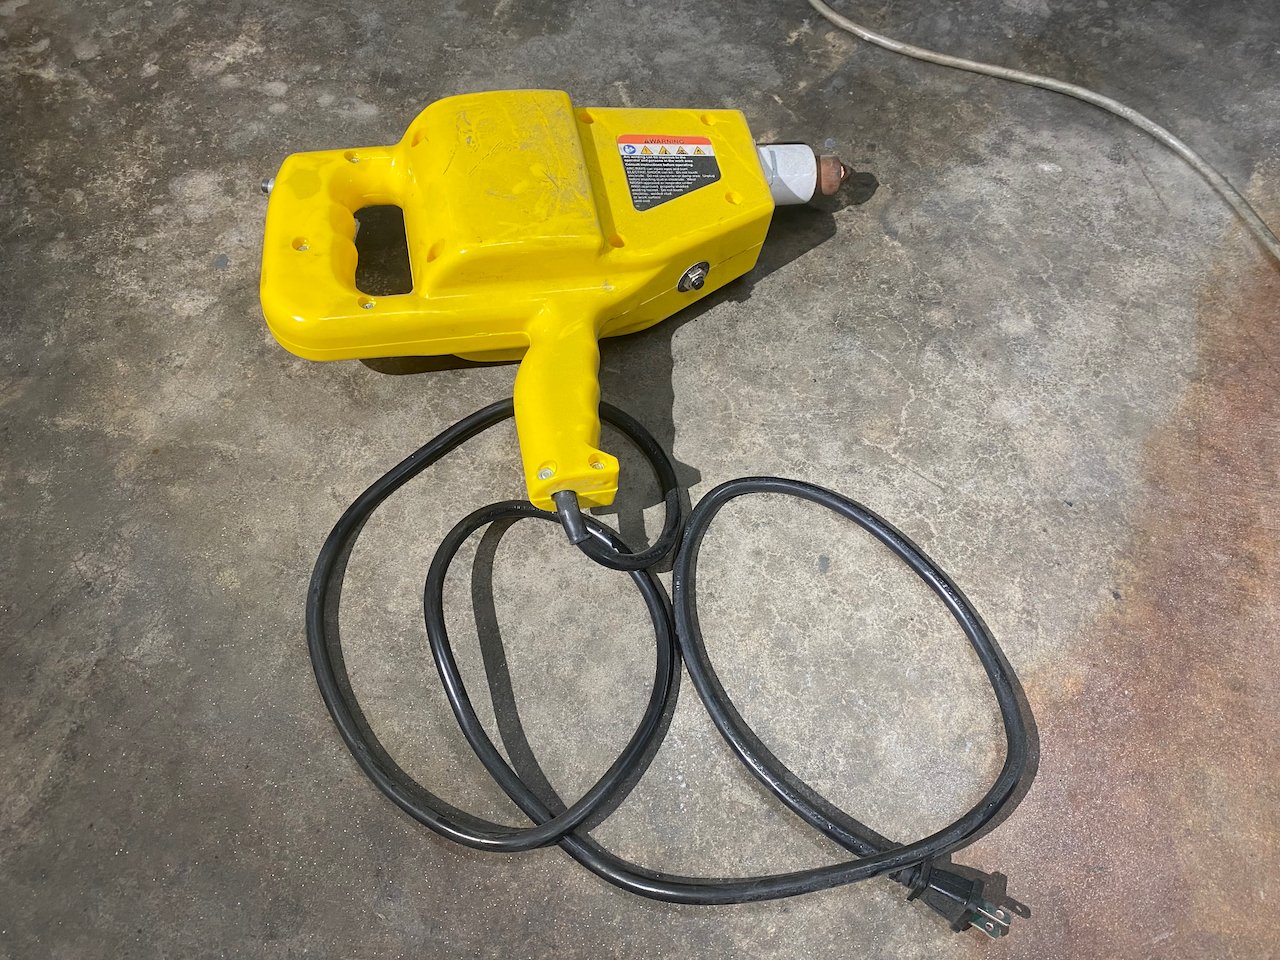
Out came the tools: Stud welder, hammer and dollies, HEAT, angle grinder to cut and grind, MIG welder, and an assortment of other goodies in my attempt at an automotive face lift. My primer is designed for filler to come after the prime, so my goal was to re-form, prep as best as I could, and prime.

G.E.T.M.O.
I kept reminding myself, “I am not building a show car!” That wasn’t an excuse for shoddy work, but a reminder that my goal was G.E.T.M.O. (Good Enough To Move On). There is a reason people pay six figures for a restoration. It takes HOURS of painstaking work.
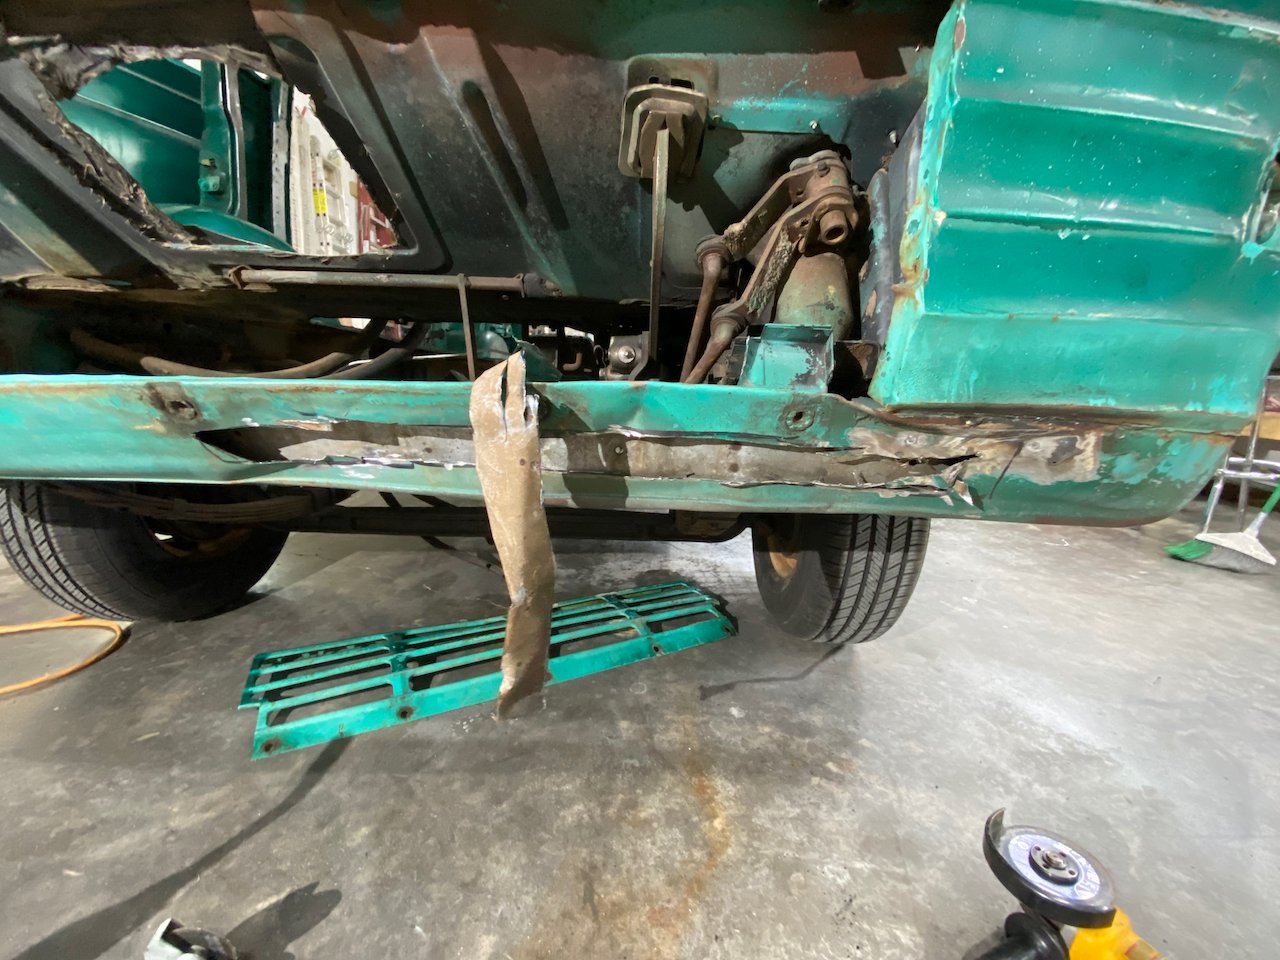
To compound the problem, somewhere in its past, this vehicle had endured a bang to the left, a bang to the right, and sucker punch right on the snout. The sucker punch didn’t bend the frame, but it put a hurting on a cross member. I have a lot of tools, but not the kind to fix that. Hmm . . .
Time to talk to myself: “Dude, this is your “hobby” and this truck is going to the lake, not Pebble Beach. You are not a pro, you do want to get better. Give it your best and move on!”
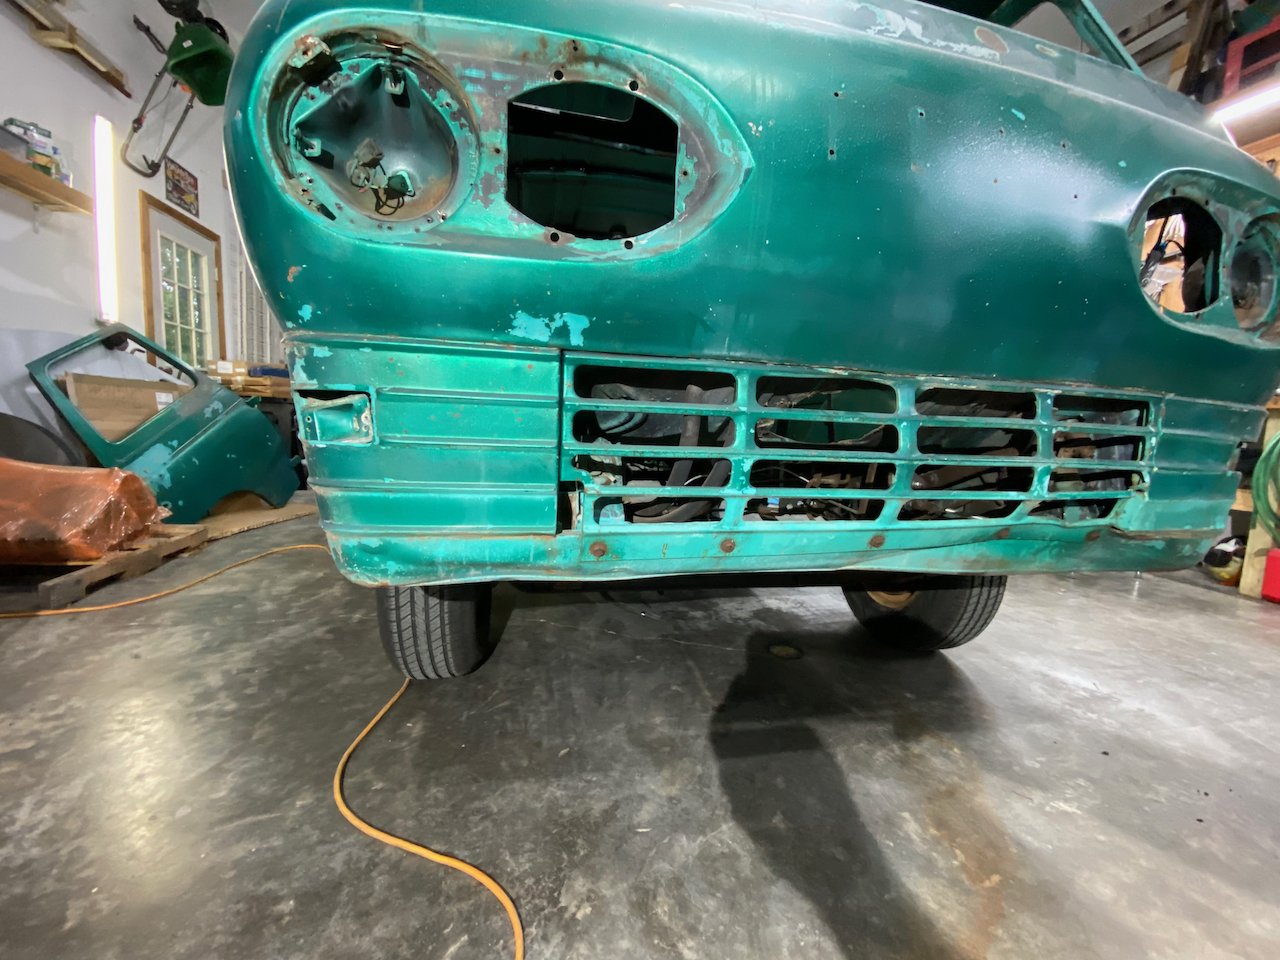
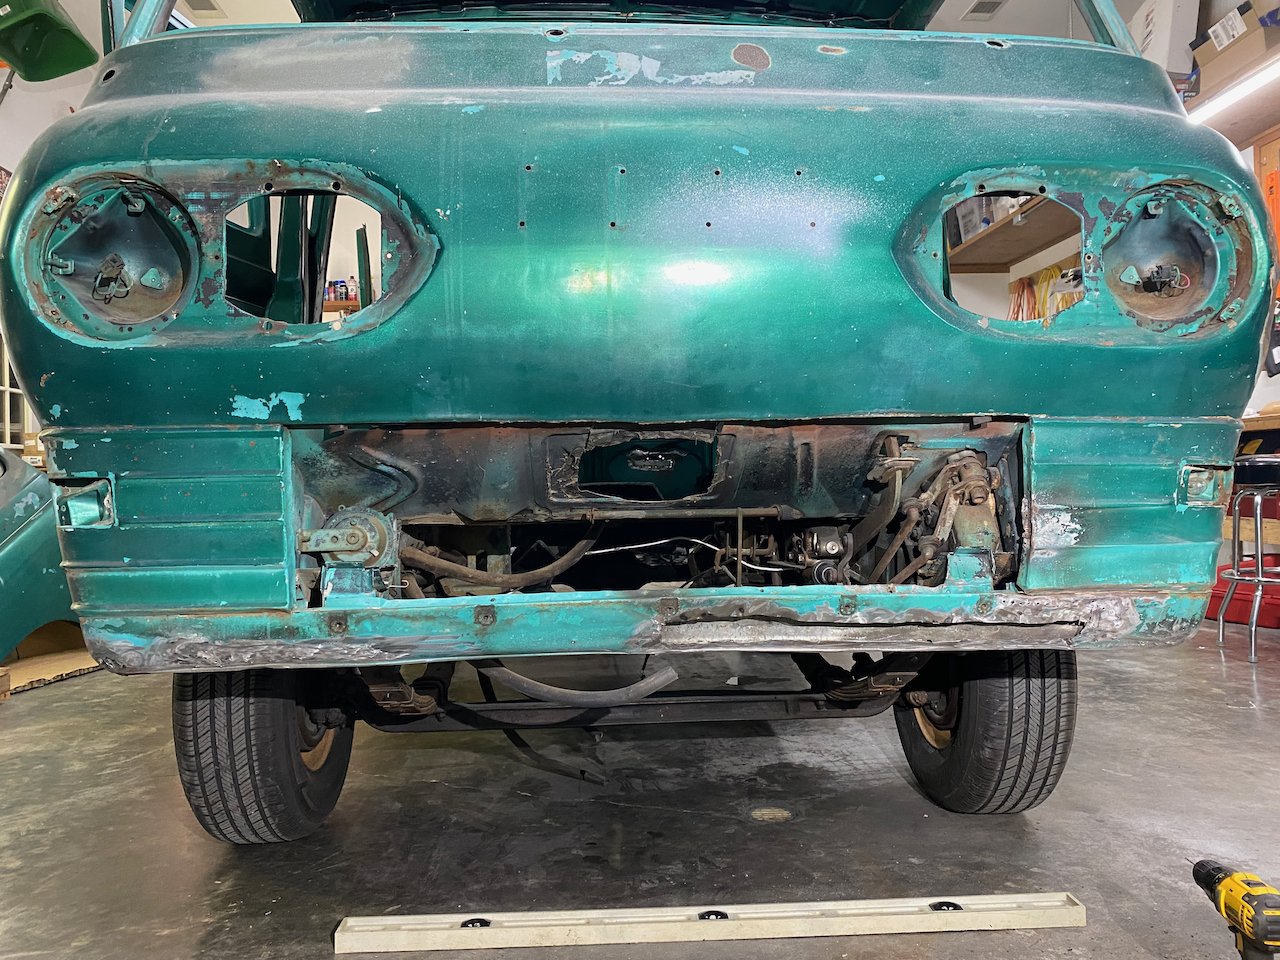
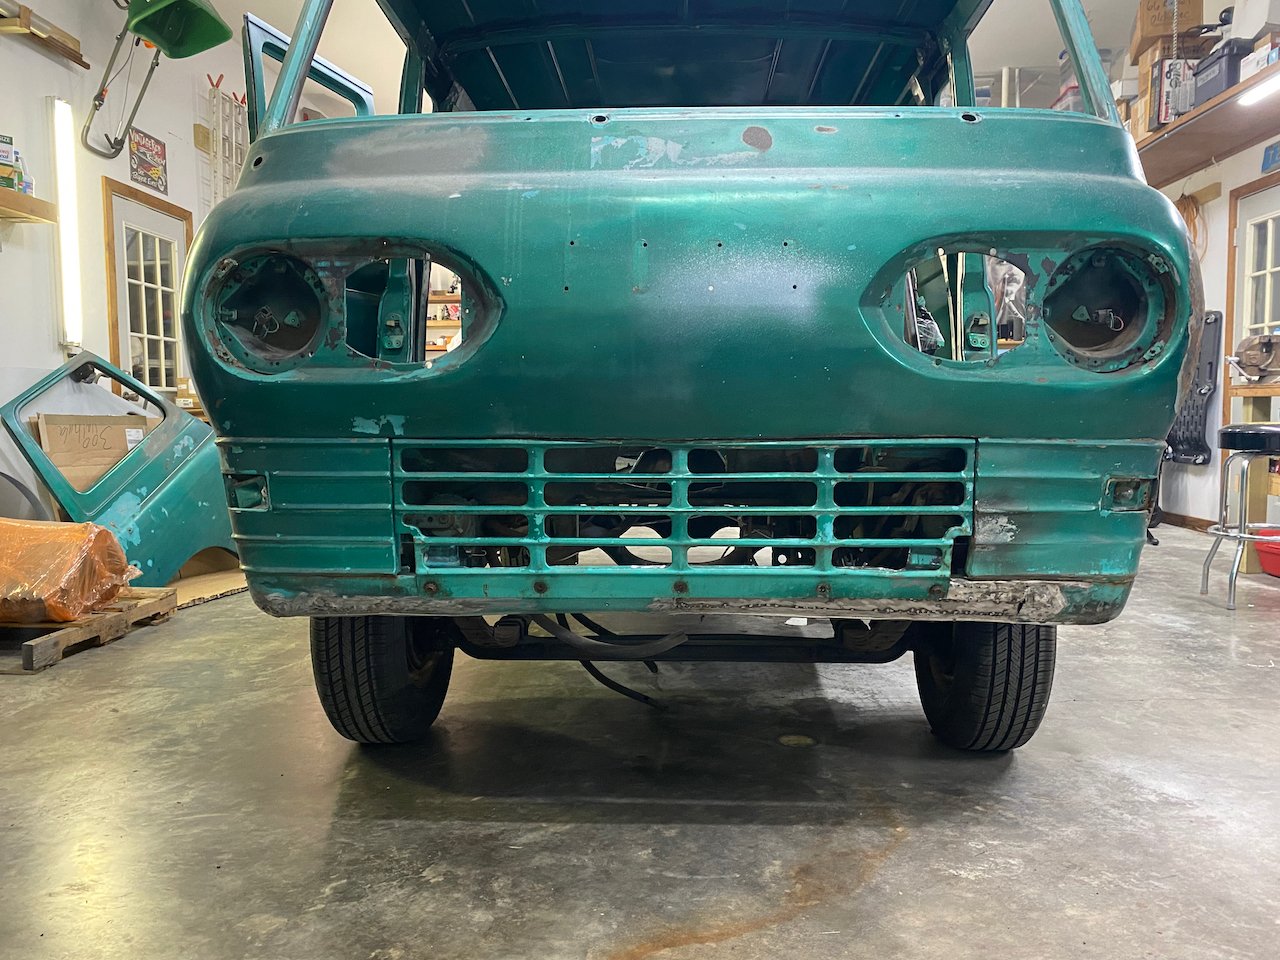
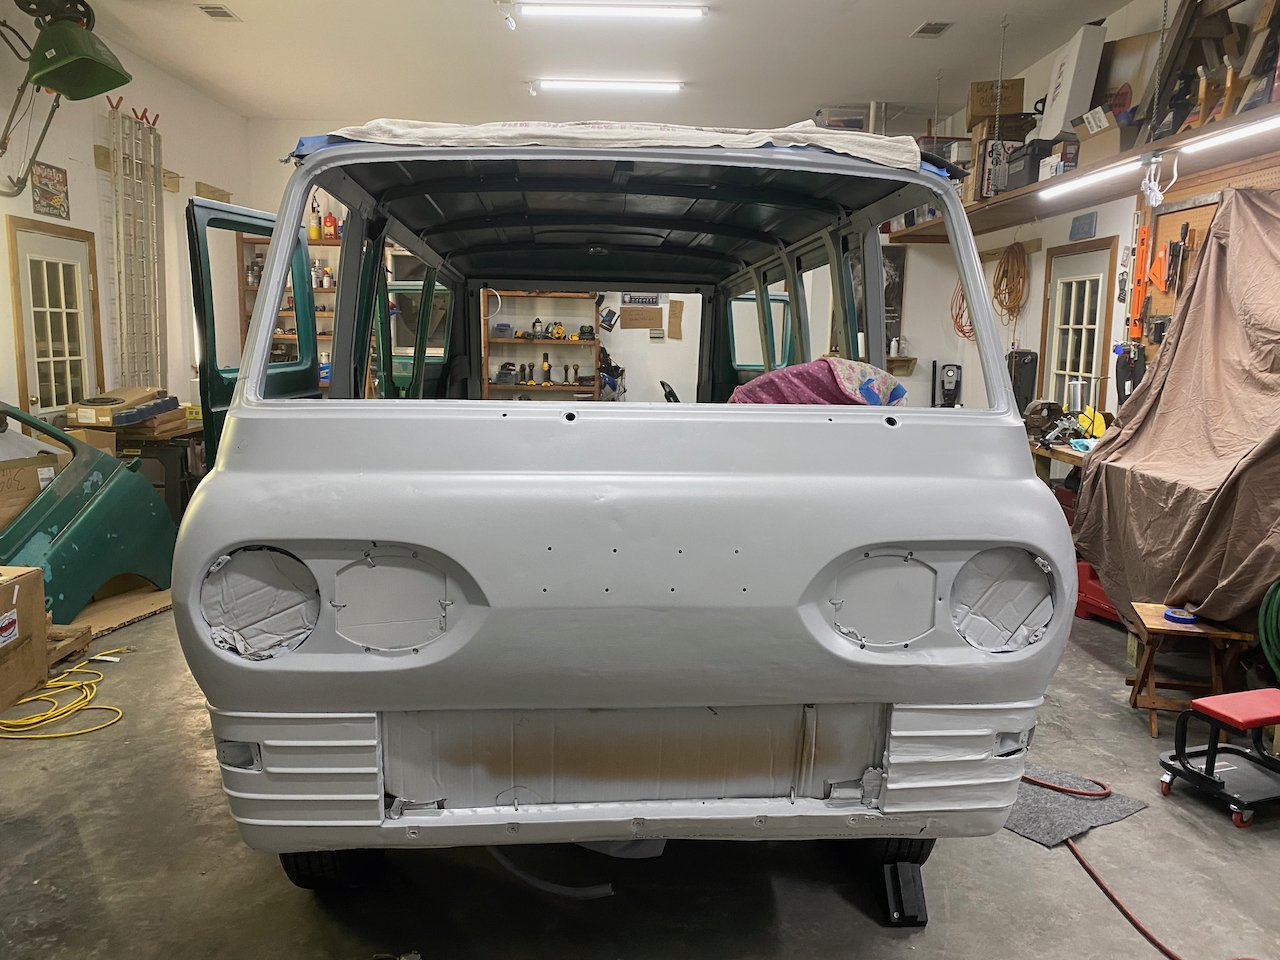
I did just that. After some traditional as well as unorthodox means of cleaning it up, I had the semblance of a front valance and a grill that was MUCH improved.

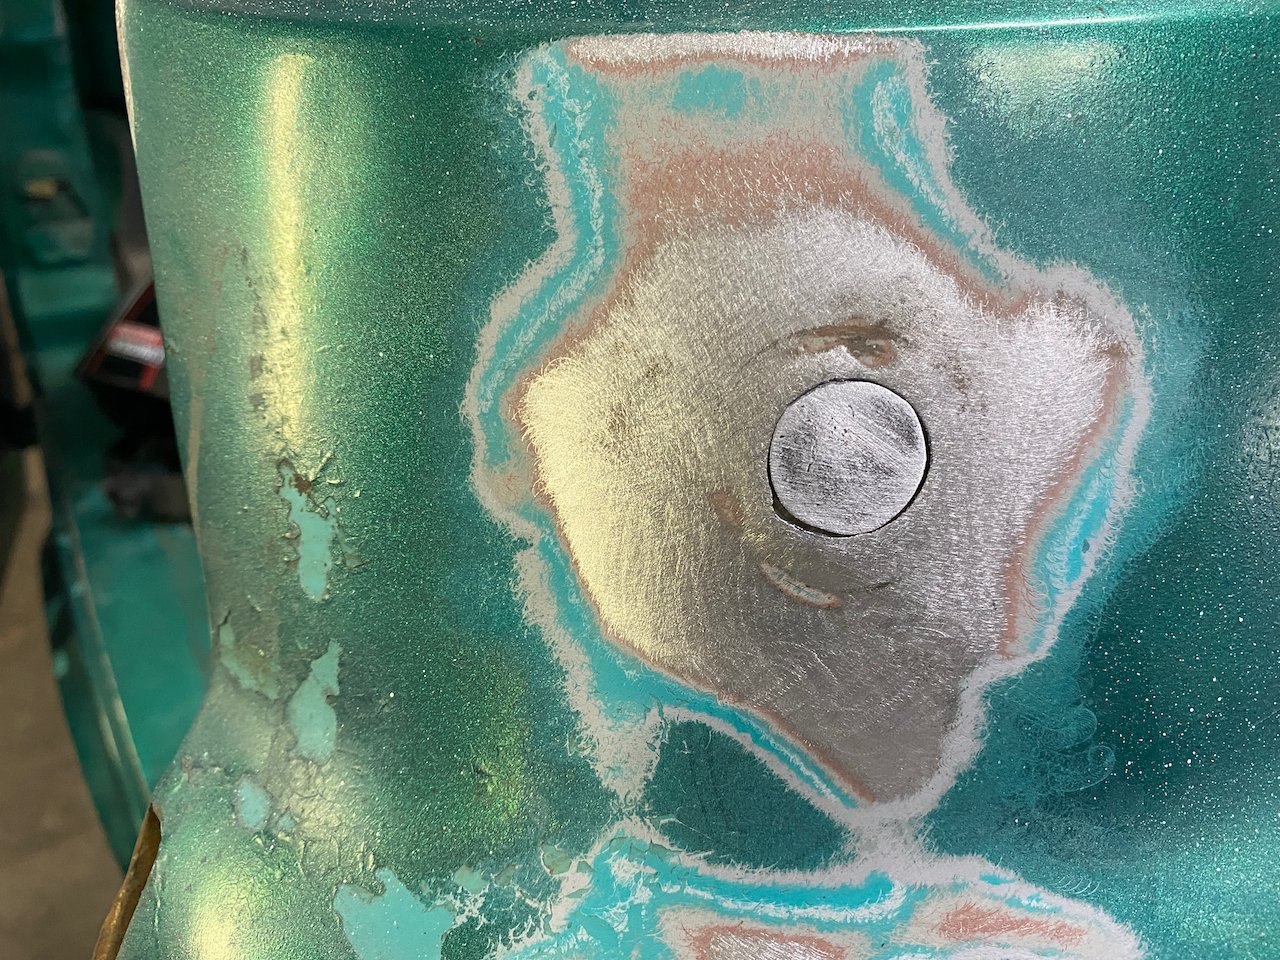
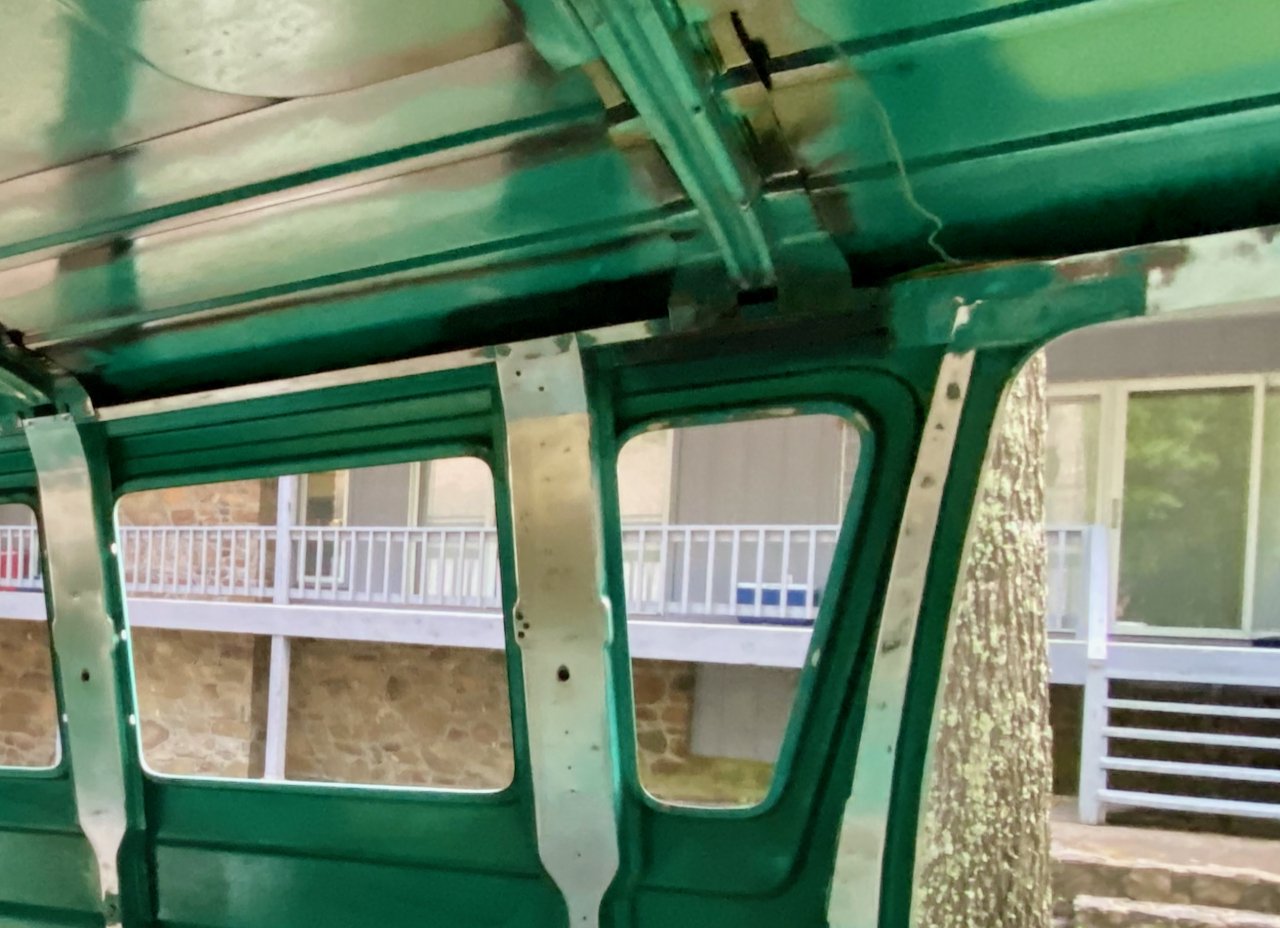
Anatomy of a Patch
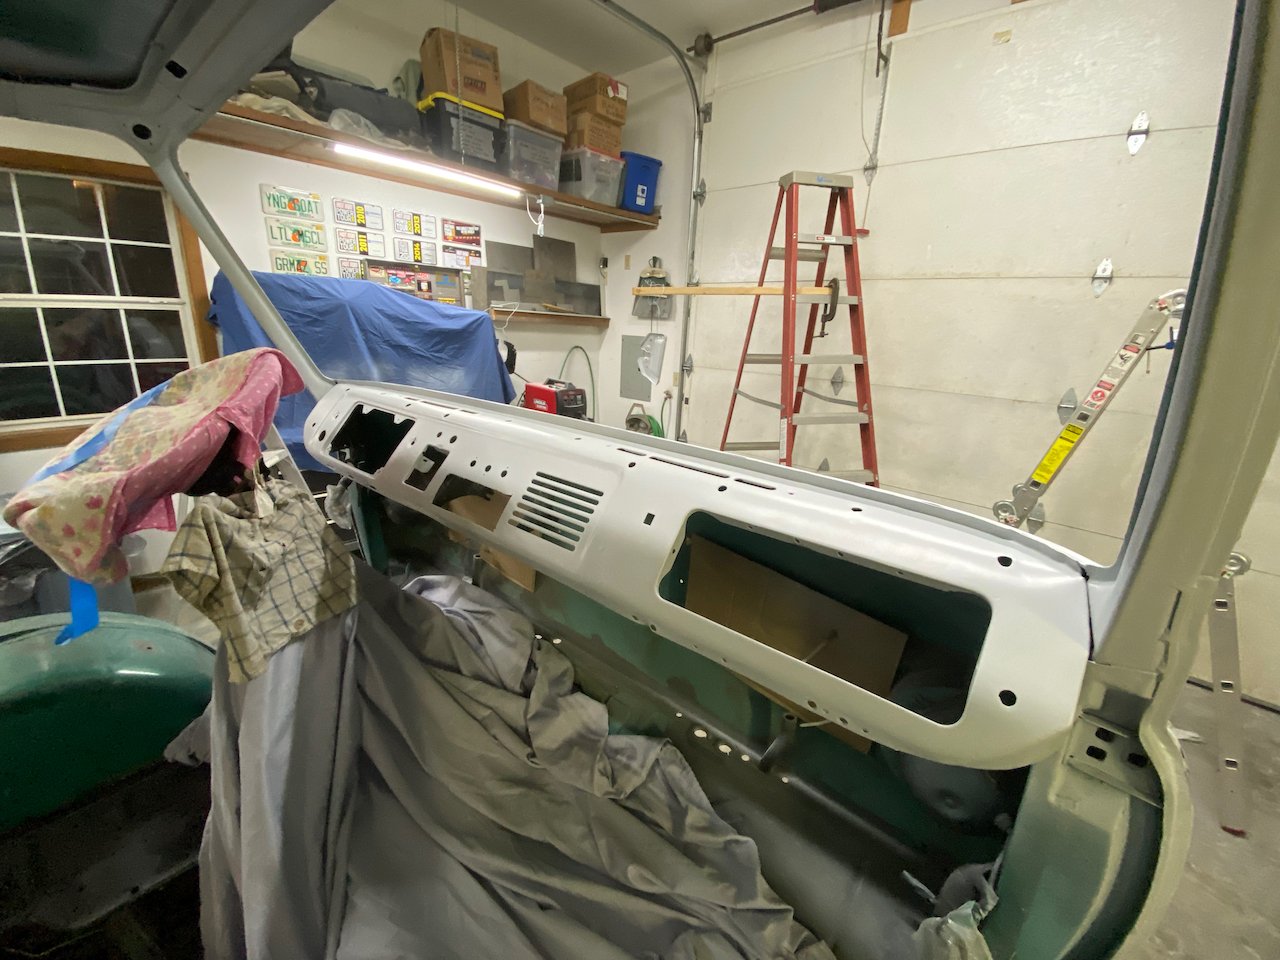
The Green Machine is relatively rust free. Still, there are places where corrosion had taken its toll. Here’s a 60-second time lapse of interior work necessary to the build.
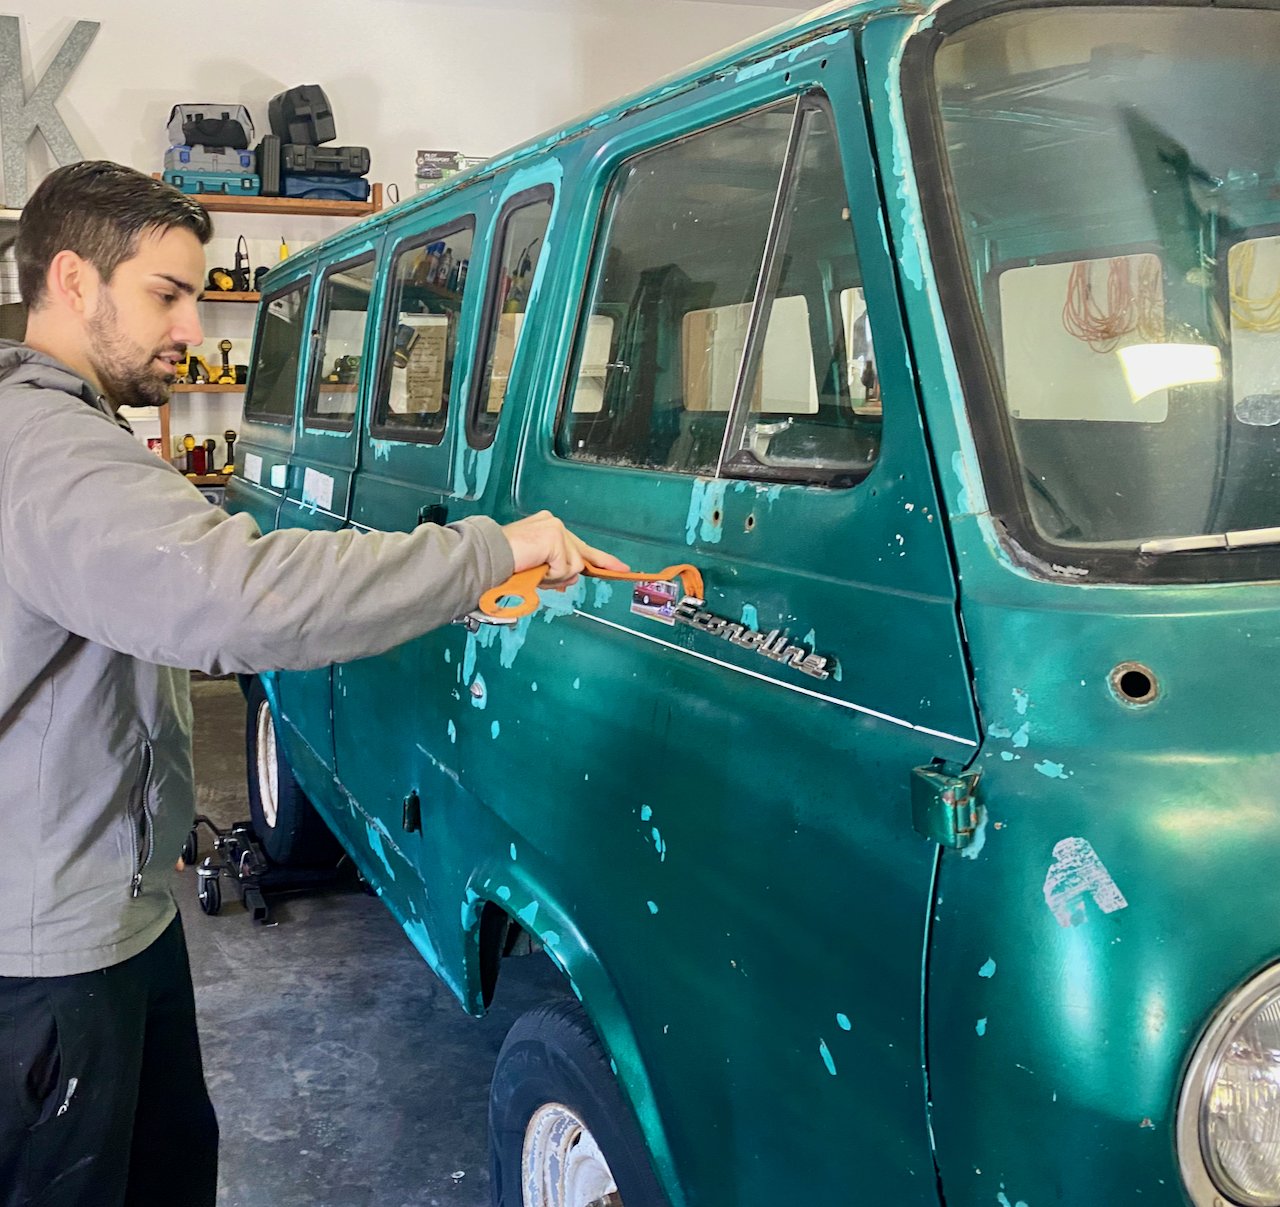
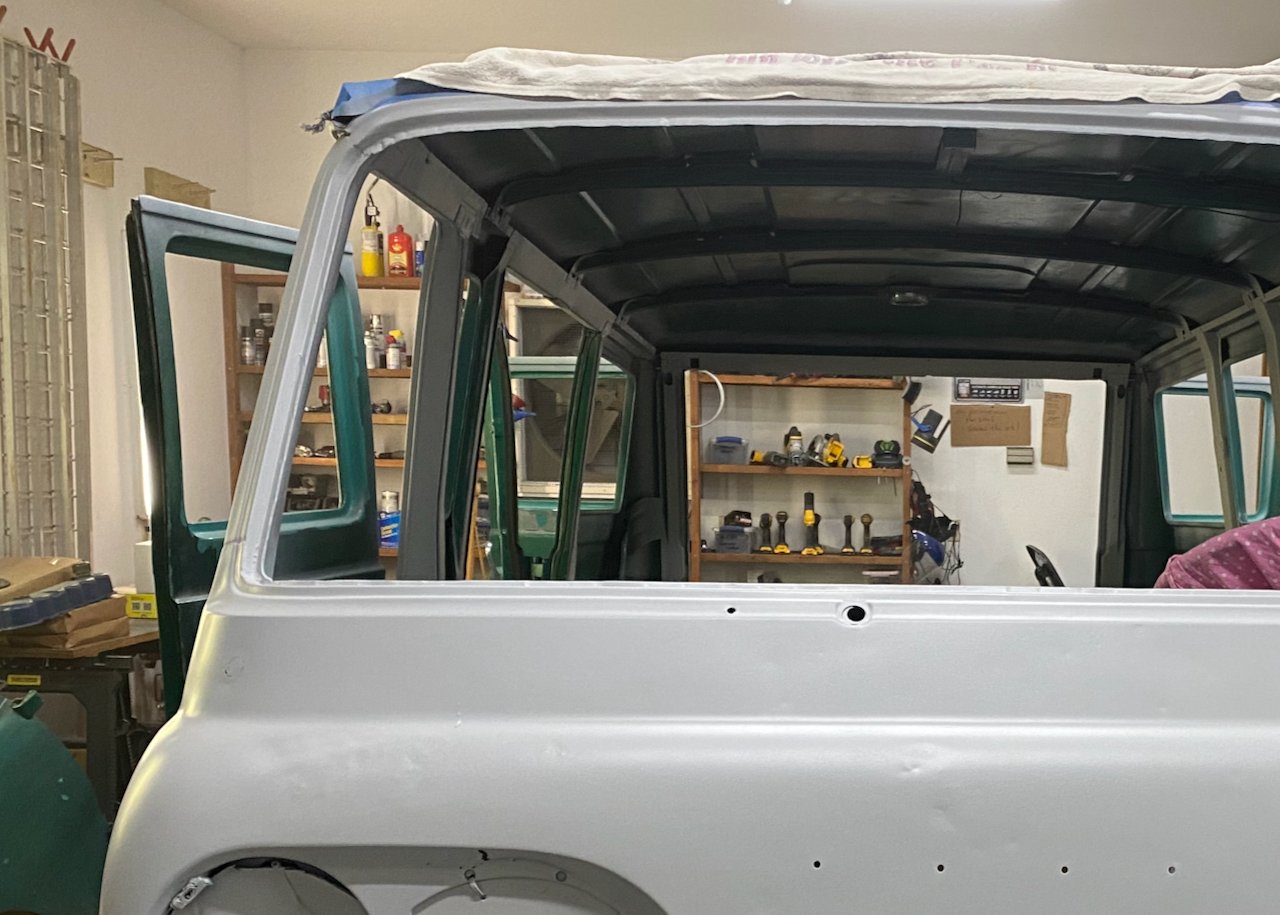
Antenna delete . . .
The original Econoline had side-view mirrors that would make a tractor trailer rig proud. They would not be a part of Green Machine 2.0. The same for the antenna. It had to go, which meant the antenna hole would have to be patched. I sourced a piece of metal from my shop, cut it, ground it to fit, welded it in, then ground the welds, and primed. Now it’s ready for the finish work.
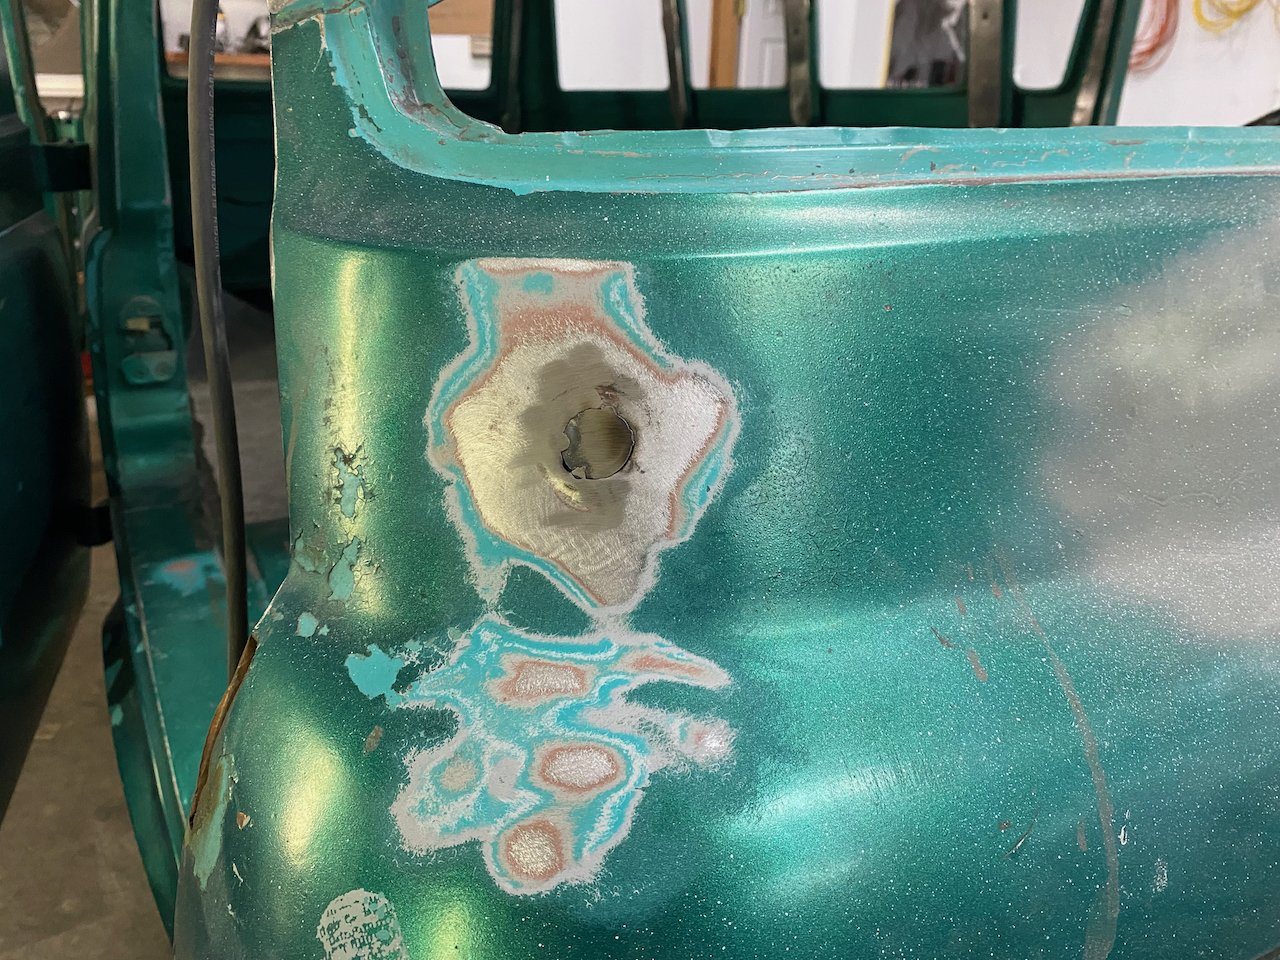
Since the entire exterior is getting stripped in preparation for paint, I started removing the old paint only to discover a lot of body filler. Ahhh . . . what to remove, what to leave?

Almost Ready For Prime Time!
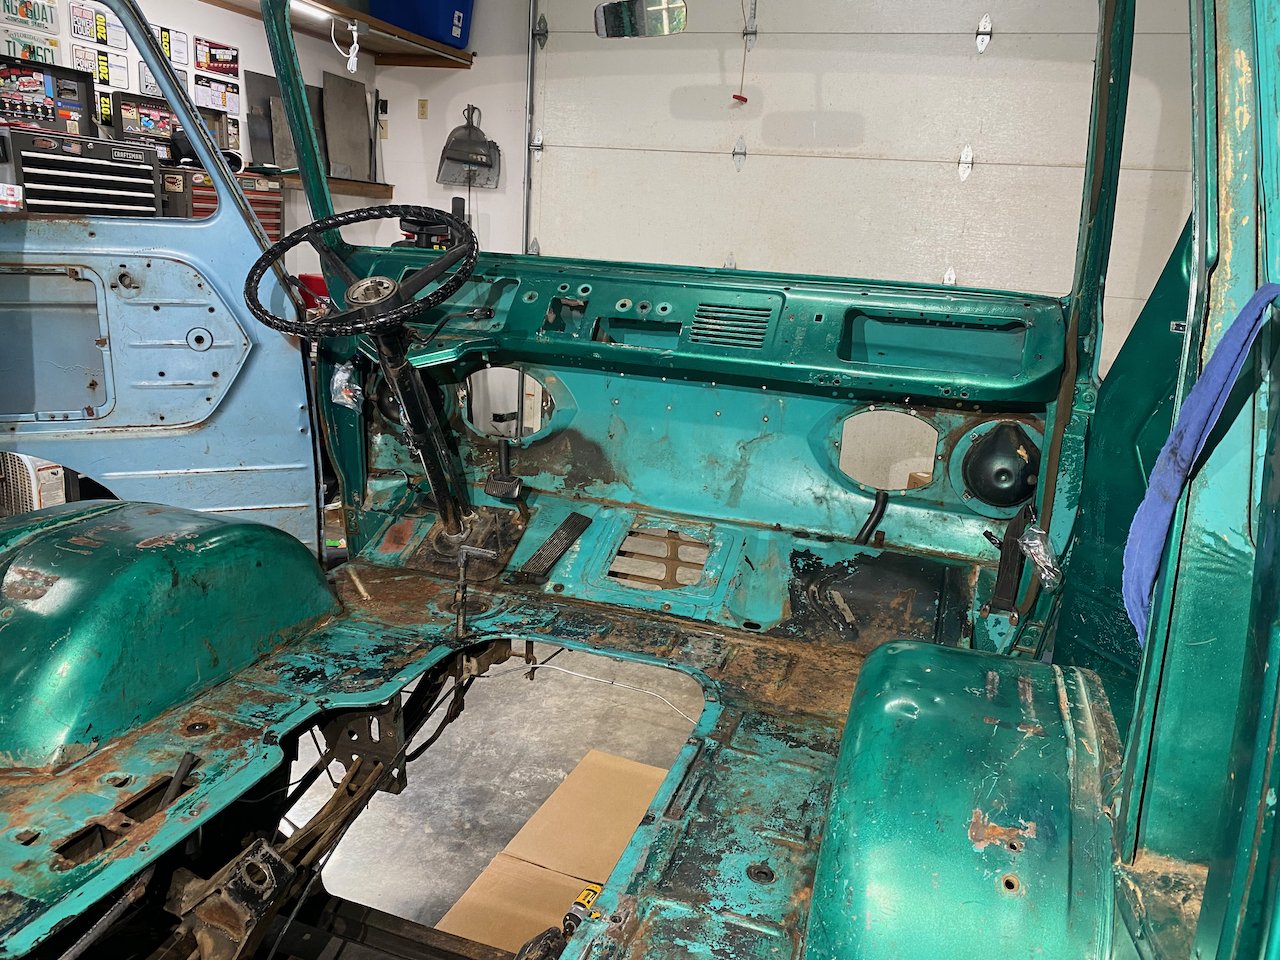
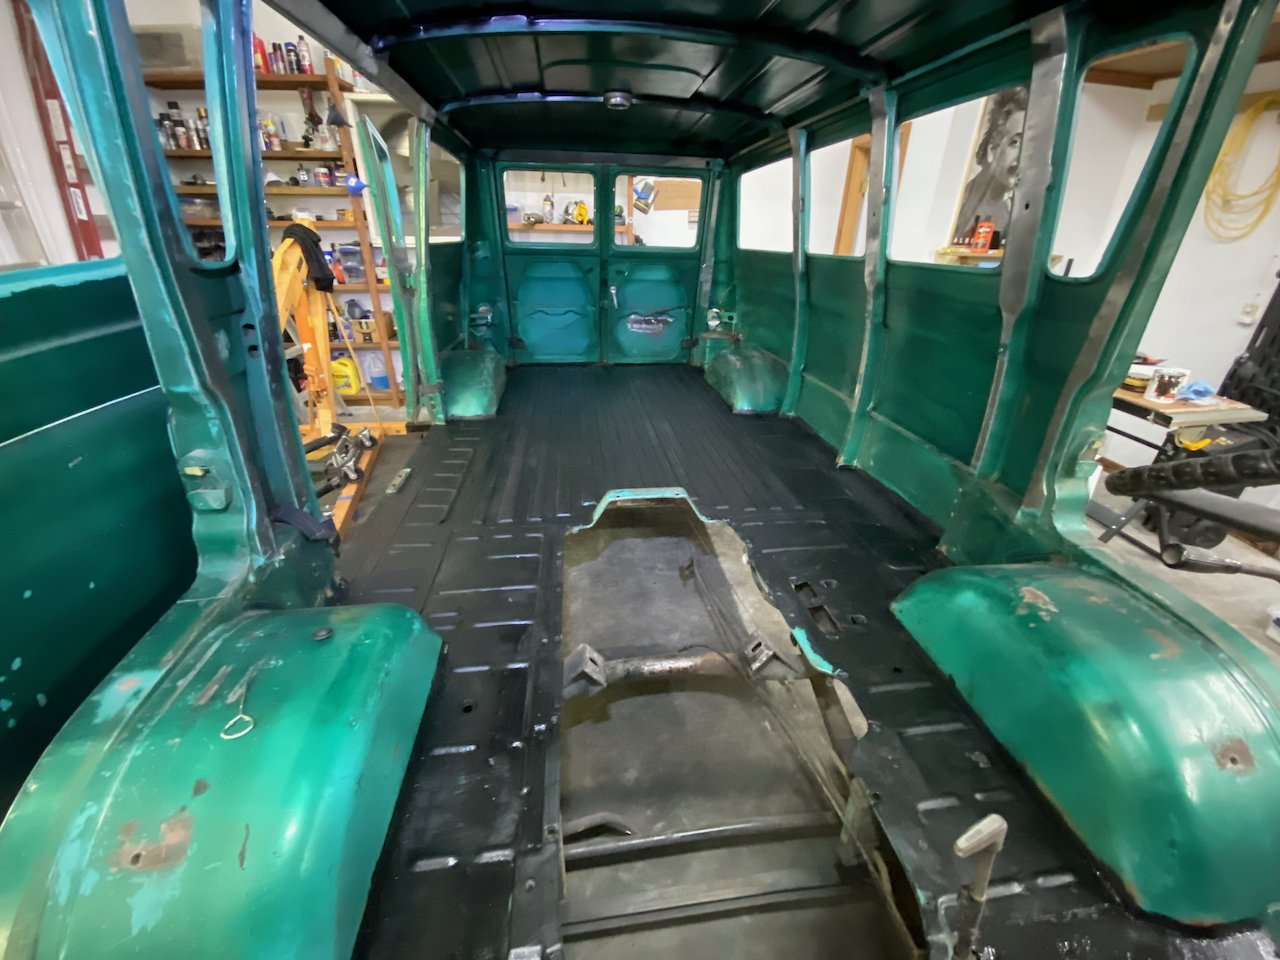
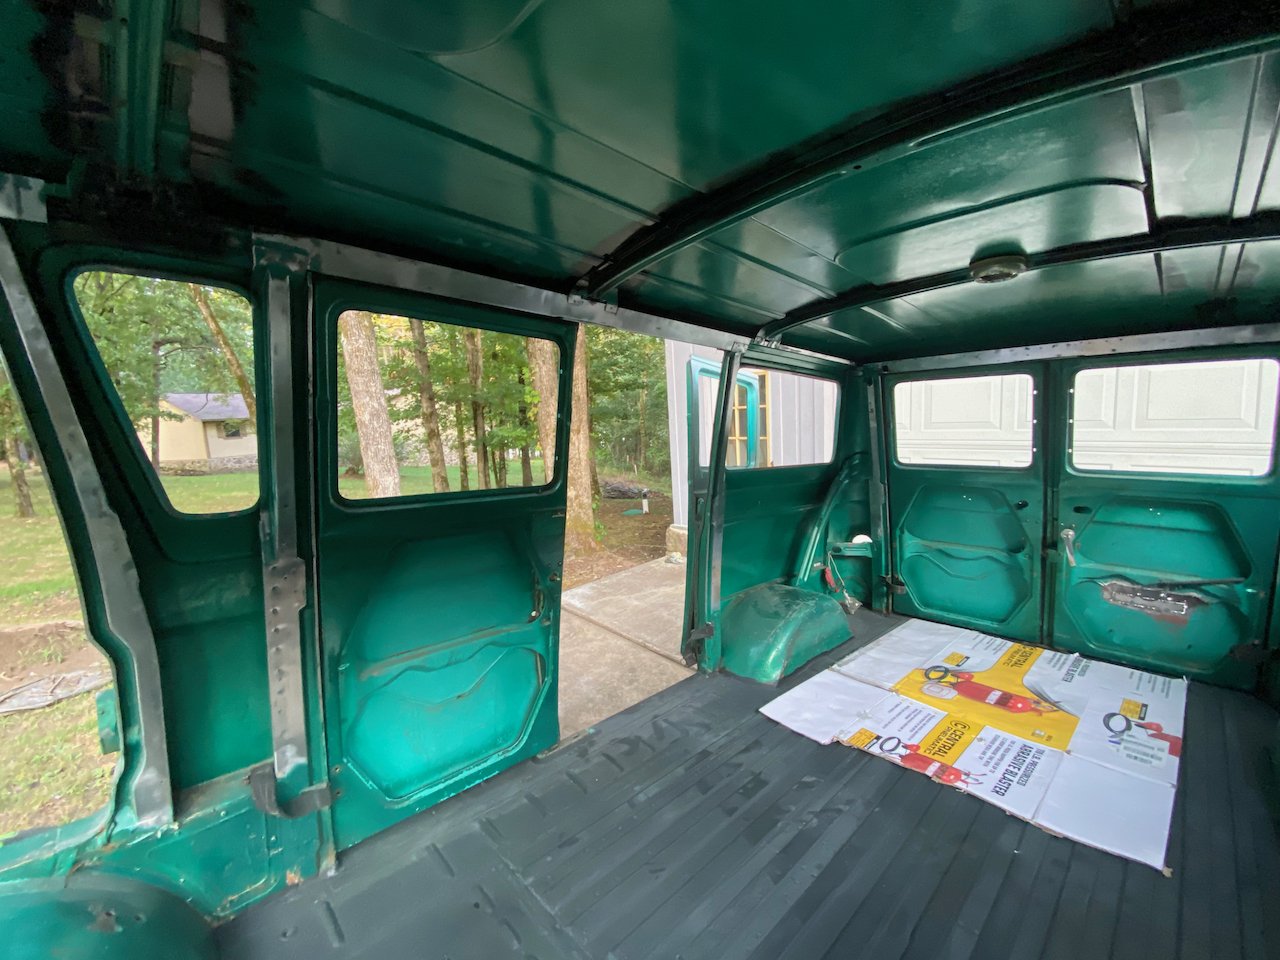
I was getting close to priming the front, but there was still some interior work to do. I had to kill some rust that had crept in over the years. I also had to take the support ribs back to bare metal since they will receive new paint in the future.
Why not take all the interior back to metal?
Good question! Back to my mantra . . . “This is going to be a grand-hauling, Green Machine lake truck. It’s not a show car.” I determined to give the interior a good cleaning with degreaser to insure that future sound deadening material adheres well. After that, most of it will never see the light of day.
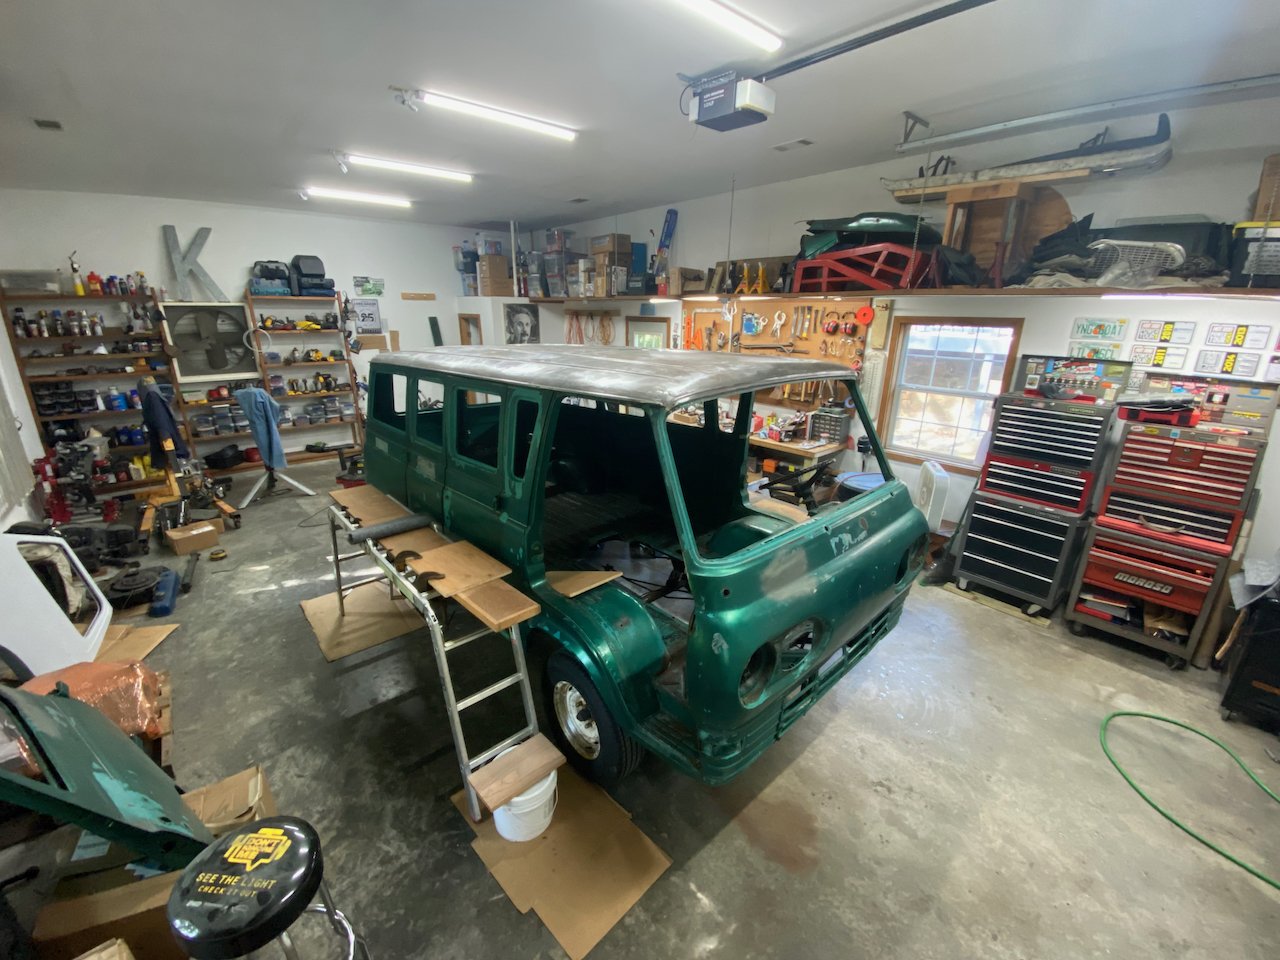
With the interior ready to go, I hauled the Econoline out of the shop one more time to give it a final sanding, cleaning, and double wipe down.

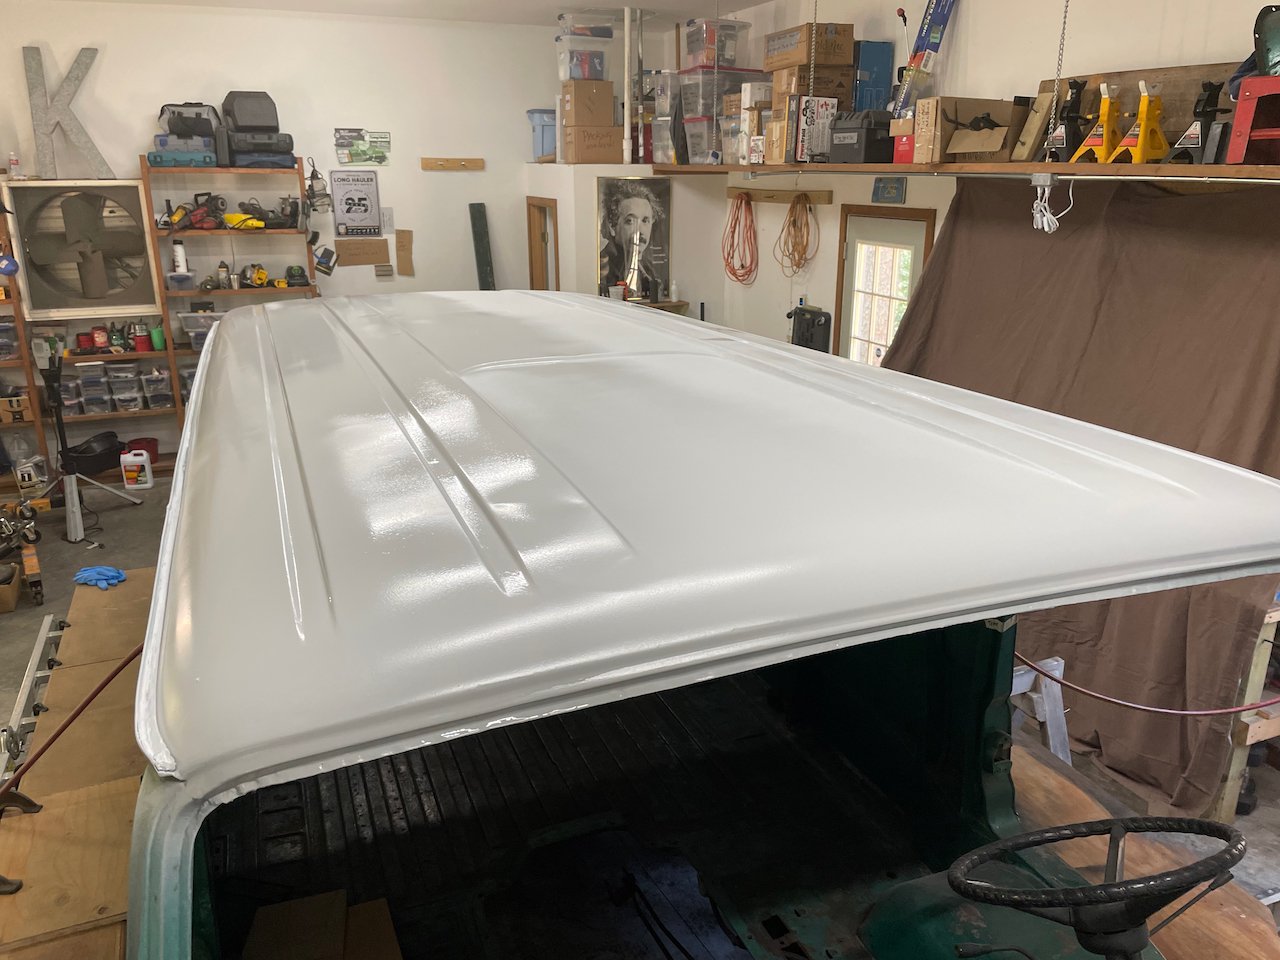
Prime Time!
Once back in the shop, the hour was growing late. Outside the crickets, cicadas, and katydids were in full chorus. Inside my compressor was humming. My body wanted to stop, but the little voice inside said, “Finish it!”
I did!

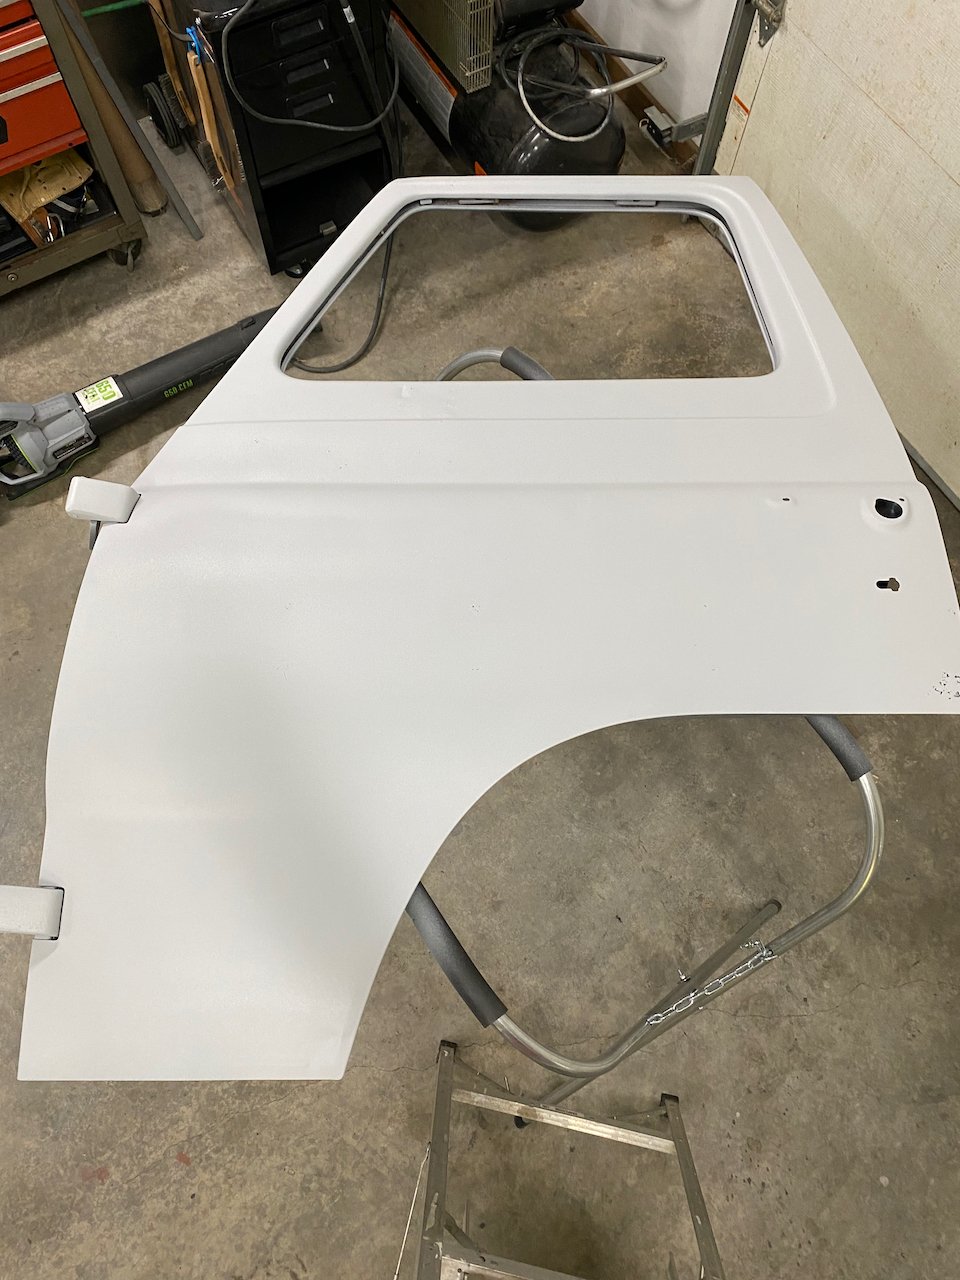
To date (no picture), the grill is back in place and much improved. The front is ready for the next round of bodywork. The doors still have to come off, get stripped of old paint, and primed. The rear end needs work similar to the front end, and both sides are still longing to be of that old paint.
I have a ways to go . . . but I am getting there.
So what’s next?
We are starting to test colors. Stay tuned!

Lessons Learned (and Re-Learned):
Begin with the end in mind — Stacey David has helped me apply the Stephen Covey principle to this project. You have to determine what kind of build you are building — or you are going to get over budget and over your head. Our Econoline is going to be a grand-hauling, Green Machine lake truck. It’s not a show car.
G.E.T.M.O. I apply this to my leadership work and to this project. None of us has unlimited time and resources. We must determine when it is GOOD ENOUGH TO MOVE ON.
Finish it! I wrapped up the priming work at 10:20 p.m. on a Monday night, after a very long day that included work for LBC, our NCAA athletic conference, and the Econo. I wanted to call it quits earlier, but like this post . . . I needed to finish it! And I am so glad I did!
The CarSafari YouTube Channel.
Since Shannan and I are often on the road and we enjoy both cars and the history surrounding them, I created a YouTube channel to record the memories. We saw this Old Olds in New London when on a little side-road excursion. Enjoy.
